Sep 19, 2026Customization Process
How OEM/ODM Customization Works: From Idea to Delivery in 4 Steps
How OEM/ODM customization works in four steps: share your idea, design and sampling, production, and on-time delivery.
Ordering custom promotional products for the first time usually comes with the same set of worries. You have a logo and an idea, but you cannot hold the finished product yet, and the questions pile up quietly: Will the sample match the picture in your head? When does production actually start? What happens between your approval and the carton arriving at your door? Those worries are fair when a supplier has no defined process, and avoidable when the process is clear.
This article walks through our OEM and ODM customization process in four steps: share your idea, design and sampling, production, and delivery. Knowing what happens at each step, and what you can prepare in advance, turns a custom order from a leap of faith into a project you can follow from your desk.
Step 1: Share Your Idea
Everything starts with your brief. Tell us your product needs, your logo, and your requirements — that is the full input this step asks for. Specifics help here: which items you want, the material you prefer, the colors you have in mind, and how your logo should appear on the product. A brief with that level of detail gives the design team something concrete to work from instead of a chain of follow-up questions.
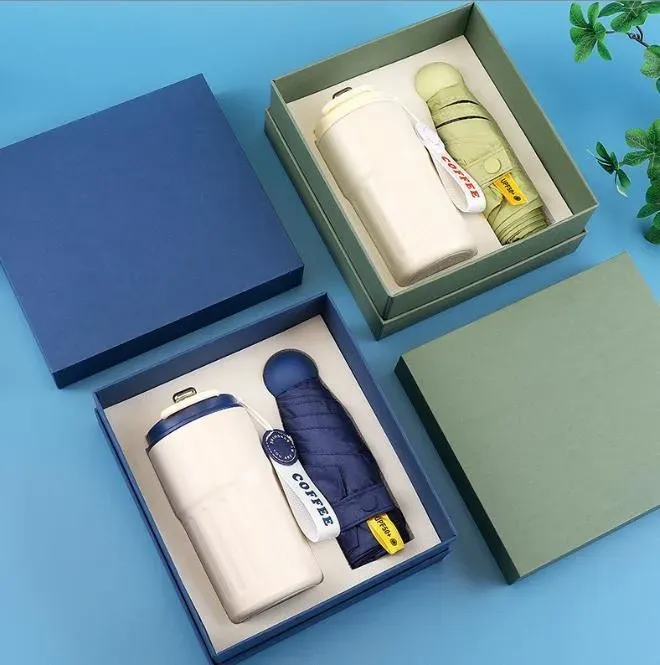
Customization covers the catalogue's eight key categories: tote bags, apparel and accessories, hats and headwear, drinkware, pickleball paddles and balls, general promotional gifts, gift sets with custom packaging, and a dedicated customization services section. Materials differ by family — canvas, cotton, non-woven and PP woven fabrics for totes, 304 stainless steel for bottles and tumblers, carbon fiber or fiberglass faces for paddles — and custom colors are available across the range. That breadth matters once your campaign spans more than one product, because every item runs through the same four steps you are about to see.
Step 2: Design and Sampling
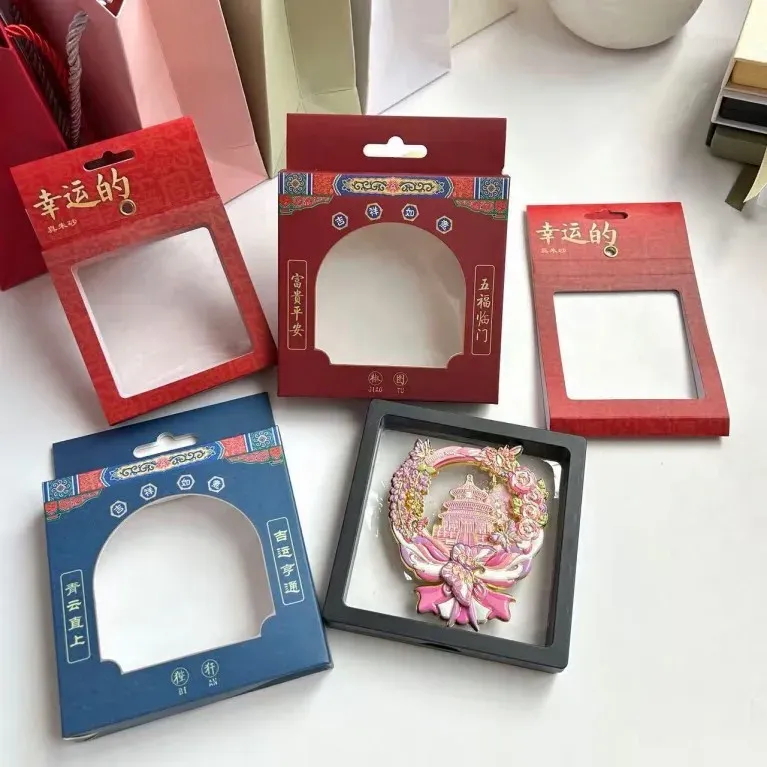
With your brief in hand, we create mockups and samples for your approval. A mockup shows how your logo and colors sit on the product; a sample lets you judge the actual item — the material, the finish, the print. This is where the picture in your head finally gets compared against something real, before any volume is produced.
Approval is the gate between Step 2 and Step 3. If a color looks off or the logo placement needs adjusting, this is the moment to say so. A change at the sampling stage costs one more revision; a change after mass production starts costs far more than that. Look at the mockup and the sample carefully, and treat your approval as the decision it is.
Step 3: Production with Strict Quality Control
Once you approve the sample, mass production begins under strict quality control. The sample you approved becomes the reference: the production run is held to what you already saw and agreed to, not to a fresh interpretation.
Quality control during mass production is the part buyers rarely see but directly experience in the goods that arrive. It is what keeps the products in the carton consistent with the sample you approved — same material, same color, same logo placement. That consistency is the reason production comes after approval rather than before it, and it is what a bulk order of promotional goods depends on.
Step 4: Delivery
The last step is on-time shipping to your destination. When the production run passes quality control, finished goods are packed and shipped, and the address they ship to is yours, wherever your business is located. The process ends the way it began: with your requirements, now in physical form and on the way.
Notice that the four steps are sequential on purpose. Idea before design, approval before production, quality control before shipping. Each step protects the one after it, and that order is what makes a custom order predictable instead of hopeful.
What to Prepare Before You Contact Us
You do not need a finished specification sheet to start, but four things speed up every step above. First, your product needs: which items you want and any material preference, such as canvas versus non-woven for a tote. Second, your colors, since custom colors are available across the catalogue and a brand palette given upfront saves a round of discussion. Third, a rough order quantity — even a range is enough to plan production. Fourth, your logo file, ready to place on mockups and samples.
None of these details have to be final. The process is built to refine them, which is exactly why Step 2 exists: ideas change when they meet a mockup. What preparation does is shorten the distance between your first message and a sample you can approve with confidence.
Start at Step 1
If a product in the catalogue fits your next campaign, the process starts the way this article described: tell us your product needs, your logo, and your requirements. Send them through our contact form, and we will come back to you to discuss materials, colors, and quantities before moving to mockups and samples. Four steps, one starting point — a message with your idea in it.